I was searching for a laptop to replace my 5-year-old Dell XPS, and I came across the Framework laptop. I had heard good things about it, and I liked the hackability, so I thought I’d give it a shot, and ordered it. My first impression was extremely positive, it came with the RAM sticks in boxes, and I had to use the built-in screwdriver to open the laptop up and install the RAM. All the components inside have QR codes with guides on how to install things, and opening the laptop is a matter of unscrewing five (captive, yay!) screws and popping up the magnetic keyboard, it took twenty seconds to slot the RAM sticks in and be ready to go.
Unfortunately, I made a grave mistake when choosing the ports I wanted (yes, Framework lets you choose what ports you want!), and I chose two USB-A ports (the old style) and only one USB-C port. I figured that all the ports come out to USB-C anyway, so if I want to use one, I can just remove the adapter, and get access to the USB-C port. In practice, that didn’t really work very well, as the sole USB-C port was permanently taken by my Yubikey Nano, so whenever I wanted to charge I had to remove one of the port adapters and plug the charger in under the laptop, which was cumbersome. I really wanted to have my Yubikey permanently affixed to the laptop, much like my “I couldn’t afford a Mac” sticker.
To my delight, Framework provide 3D-printable designs for their expansion cards, which saves quite some time. They only provide the bottom shell, as CAD designs are fairly hard to edit. The final, 3D-printable output is basically as fixed as a PDF would be for a document. Framework does provide the source (the equivalent Word file), but it’s in a programming language (OpenSCAD) and not very easy to edit.
The constraints
When thinking about how to design this, the constraints were two:
- The key needed to connect to the recessed USB-C port on the underside of the laptop.
- There needed to be some way for me to easily access the touch part of the key from the side of the laptop, as these security keys require you to touch them to prove that you actualy want to use them at some specific time.
There isn’t really a good way to extend the Yubikey Nano’s touch areas, I tried connecting wires to them and touching the wires, but that didn’t register as a touch event. One alternative was to use a USB-C extender inside the expansion card, but there isn’t enough space in the card for both a male and a female USB-C port and the cable between them, so it looked like I wouldn’t be able to use the Yubikey Nano after all.
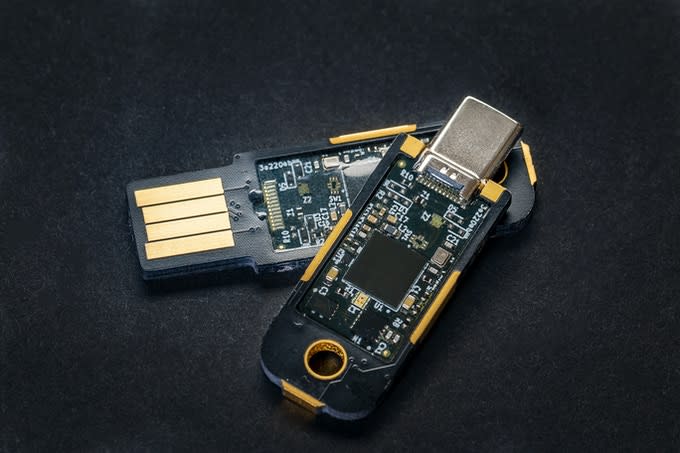
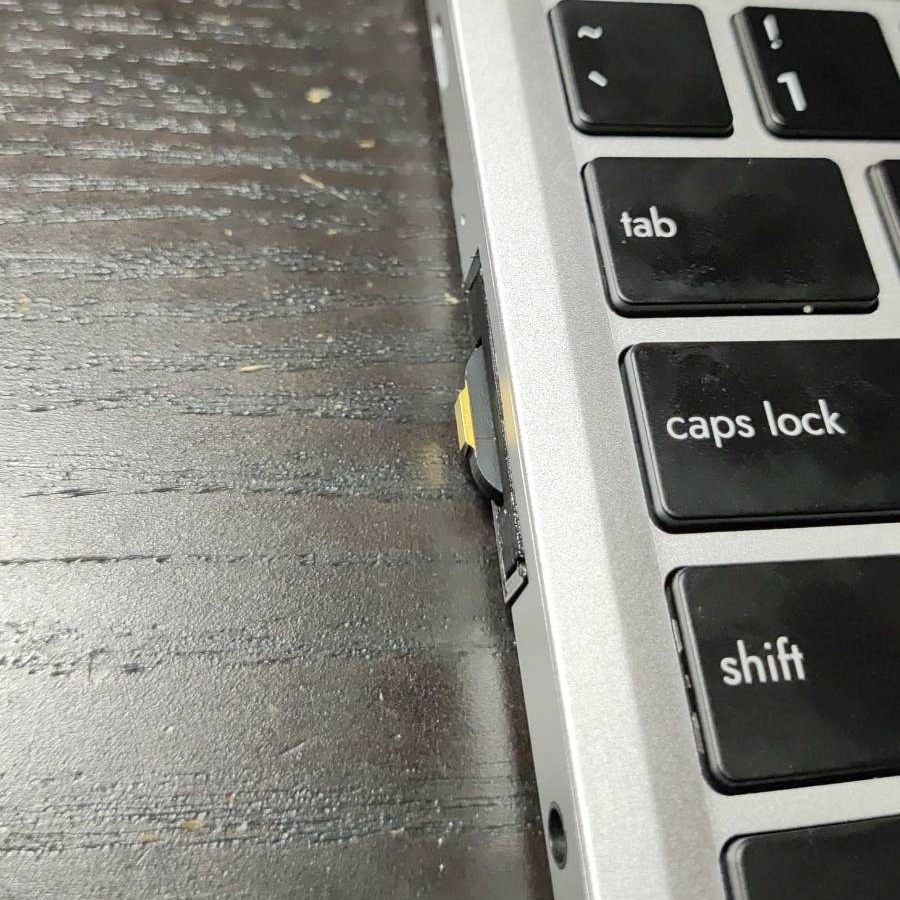
I did have a few other keys I could try, and one of them was the Solo 2, which (despite its production delays) I really like. I tested it for a fit, and it was perfect! The length was basically exactly right, from the internal USB-C port of the laptop to the outer edge, it only stuck out a few mm, and it has a touch area on its outermost edge, which is perfect. This means I can easily touch the key just by running my finger across the outside edge of the laptop, in the general area of the ports, and never have to hunt for where the port actually is.
The design
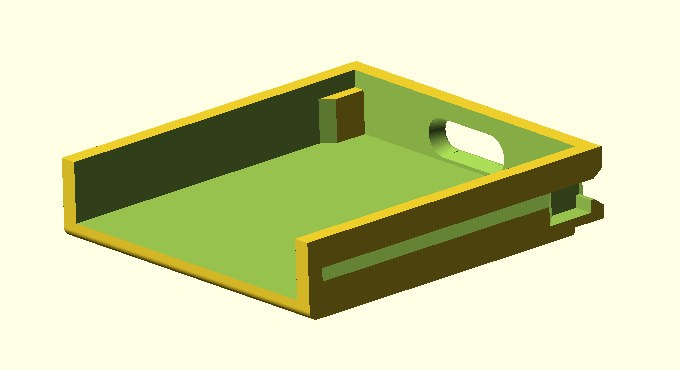
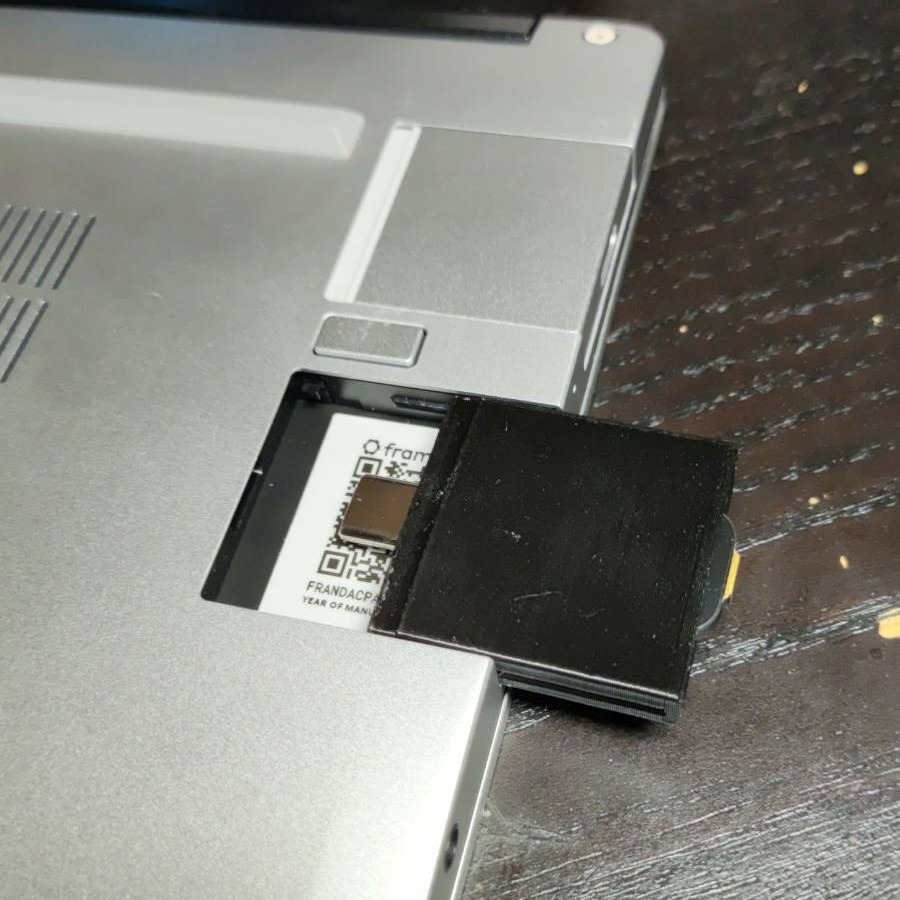
To design the actual expansion card, I realized I didn’t really need to edit Framework’s part itself, I could just create a part that would go over the bottom part Framwork provides, and hold the key in place. There are various ways to connect the two parts together, most commonly screws, but the bottom part didn’t include screw holes and I didn’t feel like editing it to add them, and I didn’t want the screws to be visible from the bottom, so I couldn’t add the screw holes to the top part. I really don’t mind glue, though, and superglue looked perfect for the application.
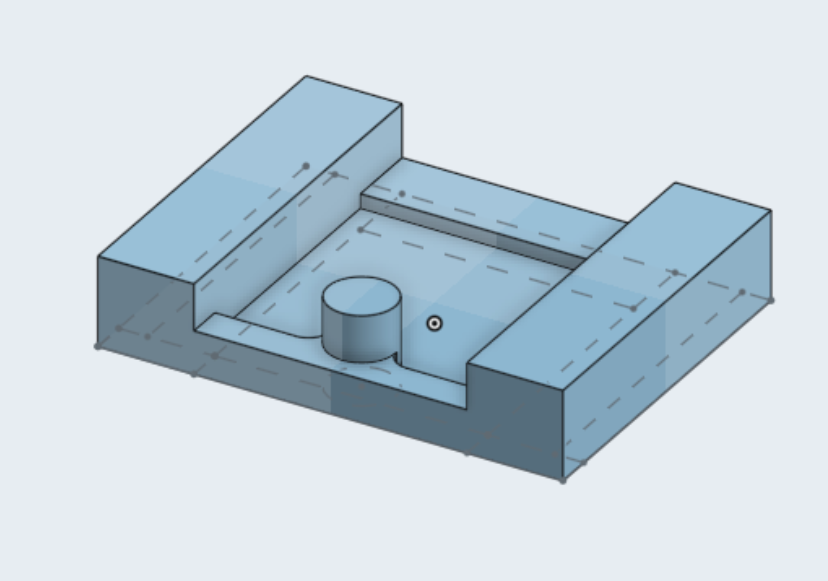
I quickly designed the top part of the expansion card, with a cylinder that would go into the Solokey’s keyring hole and hold it in place. I needed to make a few iterations to get the dimensions exactly right, but the part printed fairly quickly so it only took an hour or so to print, test, change, and print again. 3D printers might not be great for looks or tight tolerances, but they sure are fantastic for quick turnaround times. You can go through a few design variations really quickly, and get something that will fit perfectly.
Fit and installation
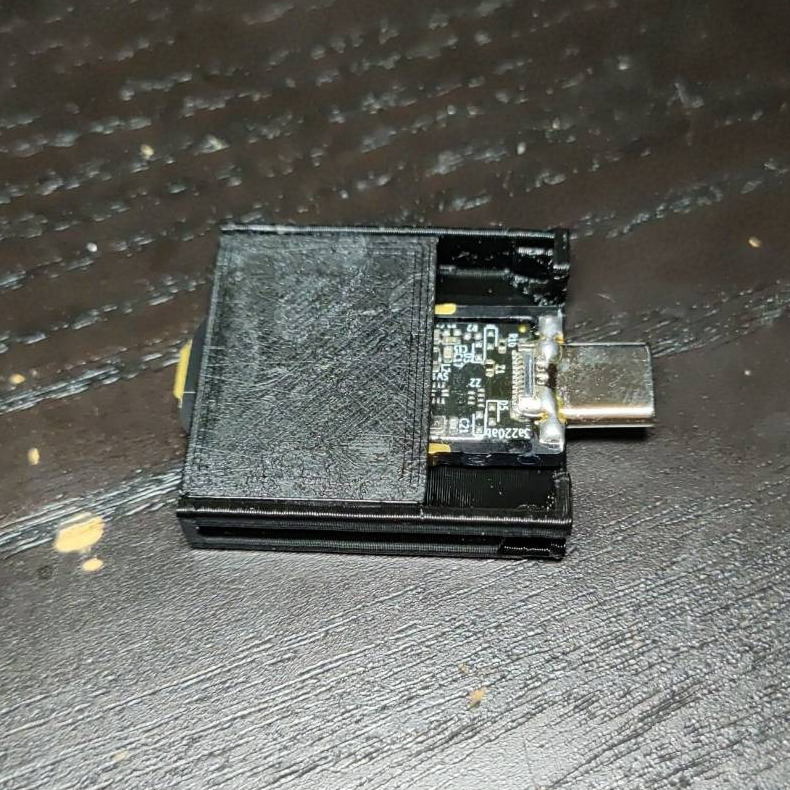
After a few tries, I finally managed to get the top part fitting the key and bottom part exactly. I glued the two parts together using two drops of superglue, one on either side, waited for the glue to cure, and tried the laptop fit.
Unsurprisingly, after sanding a few printing imperfections smooth, the Framework-provided expansion card design fit more or less perfectly. Less unsurprisingly, it actually fit better than the injection-molded expansion cards I bought from Framework themselves, which were a bit tight when sliding in and out of the port.
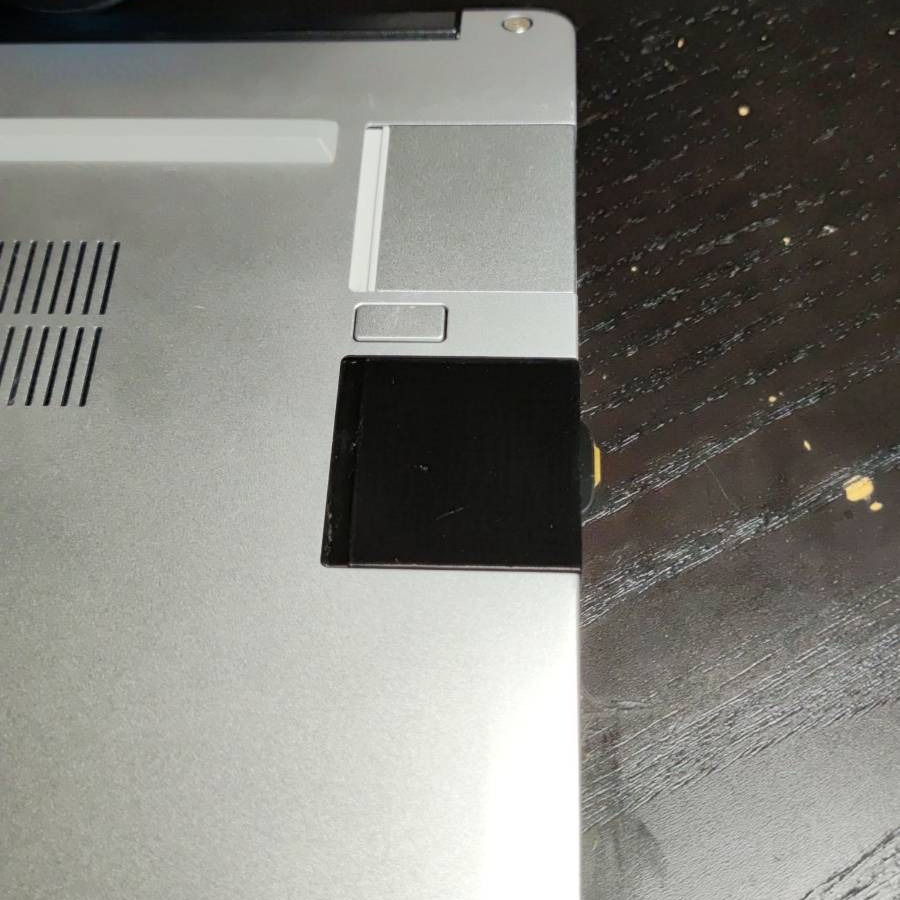
When inserted, the printed port stays firmly in place, held by the latch, and the button releases it easily. Sliding the card out is very easy as well, once the button is pressed.
Final impressions
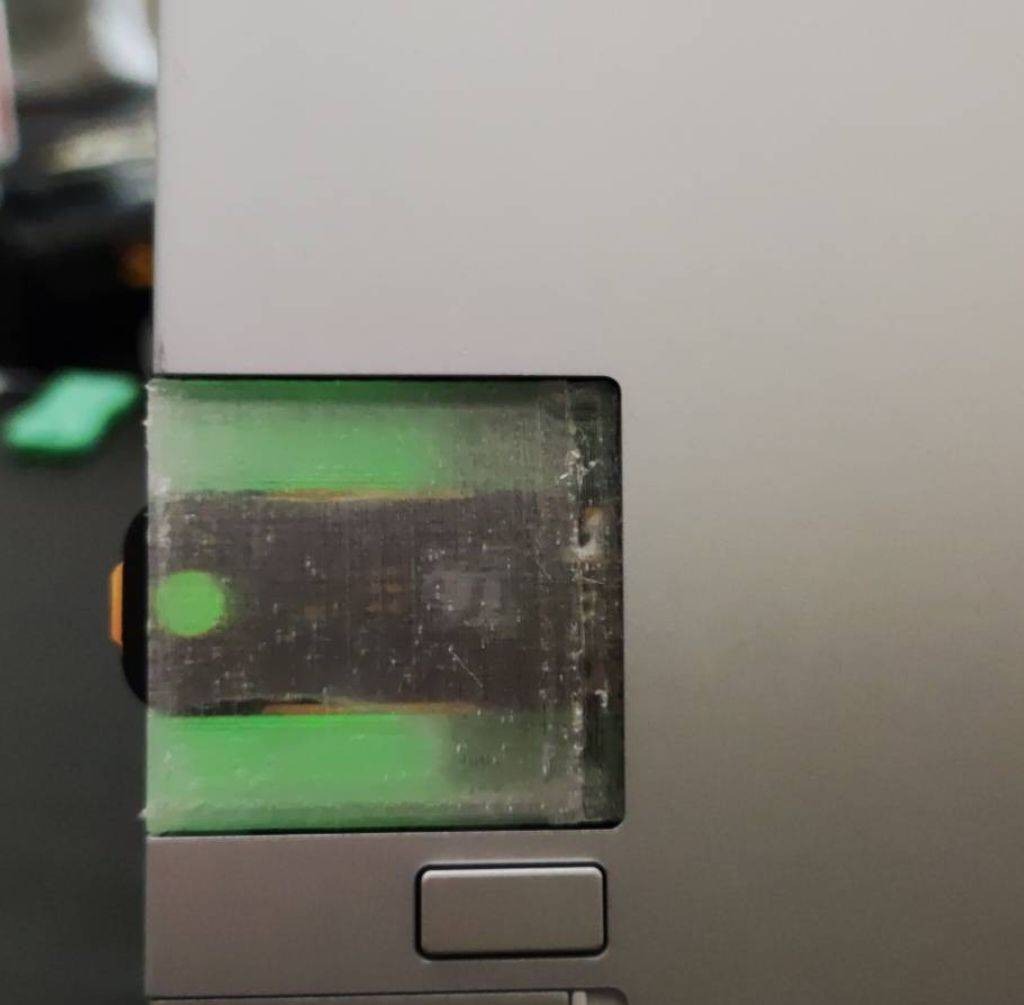
After testing the black PLA version for a few days, I decided it had a few drawbacks. For one, it stood out too much from the rest of the (aluminum) laptop, and it was very hard to see the color of the LED on the key. It’s useful to be able to see the color of the LED, as it indicates different states of the key (powered up, waiting for touch, being touched), so I decided to print the whole thing in transparent PETG, which looks much closer to the silvery sheen of aluminum than black does.
I really liked the final result, and, as a bonus, I can easily see when the key is powered up, which is surprisingly often. For example, I wouldn’t have expected the USB port to have power while the laptop is off, but it does for quite a while after shutdown, and sometimes it’s also powered after the laptop enters sleep. I don’t know why that happens, but I hope it doesn’t drain my battery for too long.
Epilogue
It’s been fun printing this module, and thanks to Framework being awesome, I saved a ton of modeling time. All in all, I’m very satisfied with the result, the key is extremely easy to touch when I need it, and stays out of the way otherwise.
If you have any feedback or comments, please Tweet or toot at me, or email me directly.